Mushroom Grow Kit "Farm on Table" How-to
by stephanie manara on Dec 21, 2021
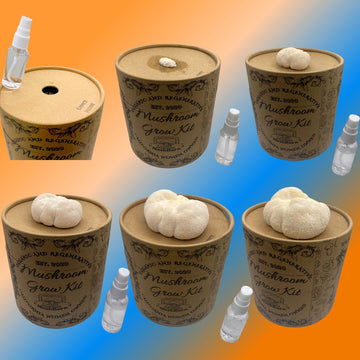
What do I need to get started?
“Farm on Table” Grow Kit Contains: Virtual Instructions & one Mushroom Mycelia Fruiting Block and an empty spray bottle
Supplies Needed: Distilled or Spring Water/Well water (any type expect chlorinated)
Best Temps for Growing: 65- 75° F, but they can tolerate a larger range
Time Until first Harvest: Apprx. 10-18 days once the hole is poked
Yield Potential: 1-3 over the few week course of a couple of flushes (mushroom fruitings)
Anything I need to keep in mind?
Things to Consider: Mushrooms release spores as they reach maturity, so if byou do not pick, them before they sporulate, be mindful not to inhale these spores or get them on your fabric furniture. Easy to wipe off countertops. Ideally the mushrooms are harvested before producing their main spore load.
Cooking: Enjoy your mushrooms simply in an olive oil salt and pepper sauté for 15 minutes on the stove. There are countless incredible recipes for fresh mushrooms online if you want to take it a step further!
What grow kits does MushBarn have?
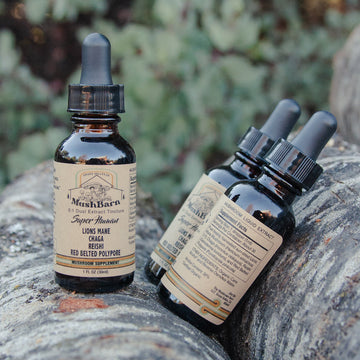
Lions Mane Mushroom
Blue Oyster Mushroom
Pearl Oyster Mushroom
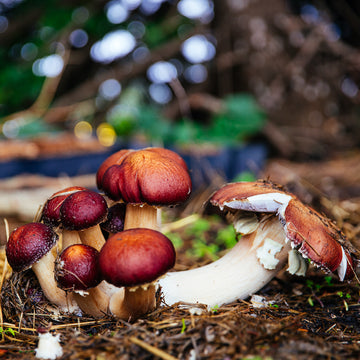
Chestnut Mushroom
Garden Giant Mushroom
What should I know about these species?
Oyster: These varieties are the hardiest and most exciting of our mushroom bouquets to watch grow. Once “pinning”, they grow so fast that you can almost take a seat to watch them multiply in size. Be ready to mist these mushroom bouquets very frequently, the more mist, the more mushrooms!
Lions Mane : We love this mushroom! Lions are “slow to start”, but will grow fairly quickly once they get going. Be patient in the beginning and don’t over-water. Sensitive to too much air turbulence, so keep away from string fans, blowers, ac’s or heaters.
Ok, I’m ready! How do I get growing?
-
Place your mushroom grow kit in a still and steady place indoors where you will see it regularly. Mushrooms like indirect sunlight, so somewhere like the kitchen counter or shelf is a great place for your grow kit. Darkness at night is ideal for them to maintain their natural growth cycle.
-
Open the lid and take out the spray bottle and fill it with water.
-
Close the lid and punch out the perforated hole on top of the kit. With clean cutlery, cut a one inch long x shape into the center of the plastic bag, being sure to poke through the plastic, an inch deep into the substrate.
-
Close the lid and mist into the box thru the open hole you punched out, making sure the water you spray is making its way into the x shaped hole you poked. The x in the plastic should line up with the perorated hole in the box.
-
Spray the opening with multiple spritzes of fresh water once daily until baby mushrooms (primordia) form at the site. Be careful not to over water your kit before the baby mushrooms are formed. Standing water in the bottom of your kit will encourage contaminants to grow.
-
Once you see baby mushrooms starting to form, mist them regularly throughout the day, up to 3-5x per day or when convenient, giving them roughly one week to fully mature.
-
Keep your mushrooms happy by keeping them moist! If you can’t be around to mist them multiple times a day, consider loosely placing a clear plastic bag over the forming mushrooms, to keep the humidity high enough for them to continue multiplying in size.
-
After a few days of growth (4-7), harvest your mushrooms once they are fully mature, but not over-ripe. The mushrooms usually double in size everyday once they take off. To harvest, grab gently at the base of the mushroom cluster and twist slowly to free them from the block . It is better not to cut the mushrooms off, because this leaves a stump to rot, which can later inhibit the fruiting of the next crop.
-
After your first mushroom harvest, cover the hole, and let the mycelium recuperate in darkness for a week before going for a second round of mushrooms. (If you do not want to continue fruiting the grow kit inside, simply remove the plastic and scatter it in your garden, and water it for continued mushroom fruitings outside! Or add to your compost/use as a fertilizer.
-
After around 10 days of letting the mushroom mycelium "sleep", open the hole to check for more baby mushrooms forming on the surface, and repeat steps 4-10. The most productive mushroom crops are usually the first and second.
-
They grow up so fast! Email us if you have questions; mushbarn@gmail.com
